How to Build a Budget Gaming PC in 2026 (Step by Step)
Cable spaghetti, random compatibility errors, and a PC that won’t even turn on. That’s the part nobody mentions when people say “just build your own gaming PC.

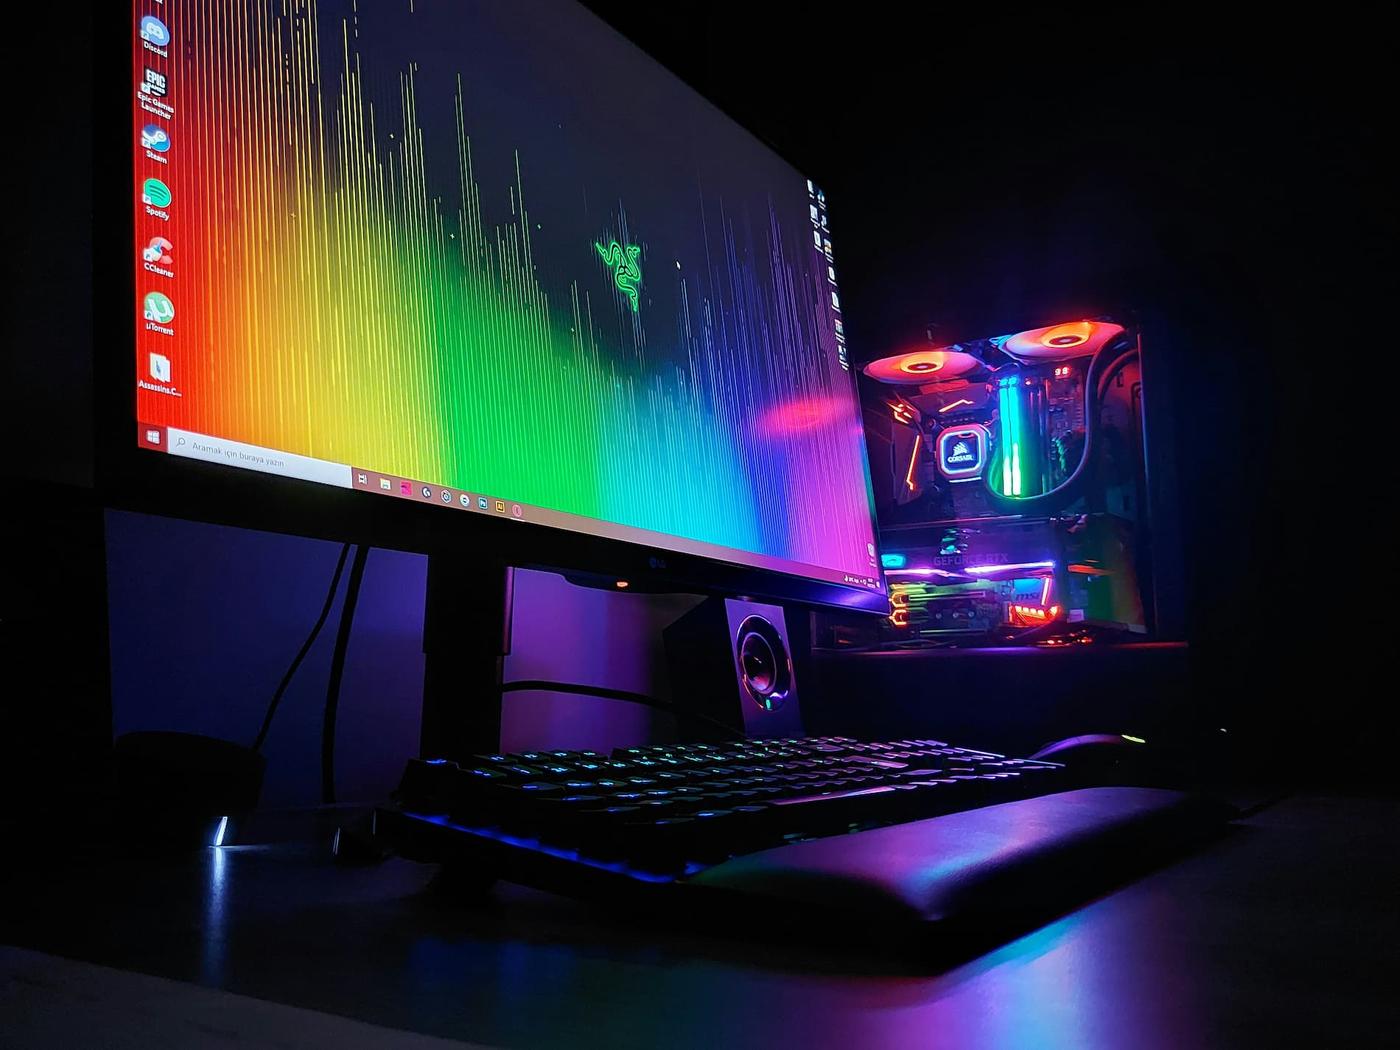
Cable spaghetti, random compatibility errors, and a PC that won’t even turn on. That’s the part nobody mentions when people say “just build your own gaming PC.” You can waste hundreds of dollars buying parts that don’t fit together, or spend an entire weekend fixing one tiny mistake that started with the wrong screwdriver.
But building a budget gaming PC in 2026 is easier than it used to be if you follow the right order. You don’t need engineering skills. You need a plan, a clean table, and enough patience to avoid rushing through the boring parts.
1. Set a Real Budget Before You Buy Anything
Most first-time builders blow their budget in the first ten minutes because they focus on flashy parts instead of balanced performance. Decide your total number first. For most beginners in 2026, $700 to $1,100 gets you a solid 1080p or entry-level 1440p gaming setup if you spend carefully.
Break that number into categories before shopping. Your graphics card should usually take the biggest slice, around 35-45% of the total budget. Your processor, motherboard, memory, storage, and power supply matter too, but overspending on one weakens the whole build.
And don’t forget the hidden costs. You still need Windows, a monitor, a keyboard, and maybe Wi-Fi support if your motherboard doesn’t include it. A “cheap” PC stops being cheap fast when you forget the basics.
2. Choose Compatible Parts in This Exact Order
Start with the processor and graphics card first because those determine your gaming performance. Once you pick a CPU, you automatically narrow down which motherboard socket you need. That single decision prevents most compatibility disasters.
After that, choose your motherboard, then memory, storage, power supply, and finally your case. Check the motherboard’s supported memory speeds and storage connections before you click buy. New builders often assume every part fits every other part. It doesn’t.
Your power supply matters more than people think. Cheap power supplies can cause crashes, overheating, or random shutdowns months later. Buy one with enough wattage headroom so your system isn’t running at full stress every time you launch a game.
3. Prepare Your Workspace Before Opening Boxes
Building on a cluttered desk is how screws disappear forever. Clear a large flat surface with good lighting and enough room to spread parts out without stacking them on top of each other.
Keep drinks away from the table. Seriously. One spilled soda can end the entire project in five seconds.
You’ll need a Phillips screwdriver, a small bowl for screws, and internet access nearby so you can check manuals during the build. Keep the motherboard manual open the entire time. Even experienced builders still check it because tiny connector labels are impossible to remember.
Static electricity scares beginners more than it should. You don’t need a fancy anti-static setup. Just avoid building on carpet, touch a metal surface before handling components, and don’t rub socks across the floor like you’re trying to start a fire.
4. Install the CPU, Cooler, and Memory First
Start with the motherboard outside the case. That gives you more room to work and lowers the chance of damaging something while reaching into tight corners.
Lift the CPU socket lever gently and line up the small triangle marker on the processor with the matching triangle on the motherboard. Don’t force it. If the chip doesn’t drop into place naturally, it’s probably facing the wrong direction.
Next comes the cooler. Some coolers already include thermal paste, while others need you to apply a small pea-sized dot yourself. Too much paste creates a mess and traps heat instead of moving it away from the processor.
Install your memory sticks after the cooler. Push firmly until both clips snap into place. A lot of first-time builders stop too early because they’re afraid of breaking something.
Pro Tip: Build and test the motherboard, CPU, memory, and graphics card outside the case before final assembly. If something doesn’t boot, you’ll troubleshoot faster without digging through cramped cables later.
5. Mount Everything Inside the Case Carefully
Now install the motherboard into the case using the standoffs included with your case hardware. Those tiny metal spacers stop the motherboard from touching the case directly. Forgetting them can short the board instantly.
Take your time routing cables behind the case panel instead of stuffing everything into one corner. Better cable management improves airflow and makes future upgrades much less annoying. You don’t need showroom-perfect cables. You just need enough space for fans to move air properly.
Install the graphics card last because it’s usually the largest component. Secure it tightly with screws so it doesn’t sag over time. Then connect the power cables from the power supply directly into the card until they click firmly into place.
This step feels slow because every cable suddenly looks identical. That’s normal. Double-check each connection before moving on.
6. Boot the PC and Install Your Operating System
The first startup always feels tense. You press the power button and wait for signs of life while mentally preparing for disaster.
If the fans spin and you see the motherboard logo on screen, you’re already ahead of most first-time builders. Enter the BIOS menu and confirm your memory and storage drive appear correctly before installing anything else.
Use a USB drive to install your operating system. The setup process walks you through most of it automatically, but pay attention to where you install the OS so you don’t accidentally format the wrong drive.
After installation, download your graphics drivers and motherboard updates immediately. A fresh build without proper drivers often performs badly even when the hardware itself is perfectly fine.
7. Test Games and Monitor Temperatures
Don’t celebrate the second the desktop appears. Your PC still needs stress testing.
Install a few games and monitor your temperatures during gameplay. Most modern gaming CPUs and GPUs can safely handle high temperatures under load, but constant overheating means something is wrong with airflow, cooler installation, or fan placement.
Listen for strange noises too. Grinding fans, rattling cables, or random shutdowns usually point to loose connections. Fix small problems now before they become expensive problems later.
And expect some tweaking during the first week. You might adjust fan curves, move cables, or reinstall drivers. That’s part of the process, not proof you failed.
Common Mistake to Avoid
The biggest beginner mistake is buying parts too quickly because a deal “looks good.” Cheap parts that don’t fit together aren’t bargains. They’re future headaches sitting in cardboard boxes.
A lot of first-time builders also skip reading manuals because tutorials online seem faster. Then they spend three hours trying to figure out why the power button doesn’t work when the front-panel connector is plugged into the wrong pins. Slow down. The boring steps save the most time later.
Now you’re ready to build a gaming PC that actually feels personal instead of overpriced and prebuilt. And once you finish your first build, upgrading parts later stops feeling intimidating because you finally understand what’s inside the machine.

Jude Archer
Author at SofaBreak — writing on guides and everyday curiosities.