How to Calibrate Your TV Picture Settings for the Best Possible Image
You spent good money on your TV, but the picture still looks slightly wrong. Faces have an orange tint, dark movie scenes turn into muddy shadows, and everything looks unnaturally sharp.

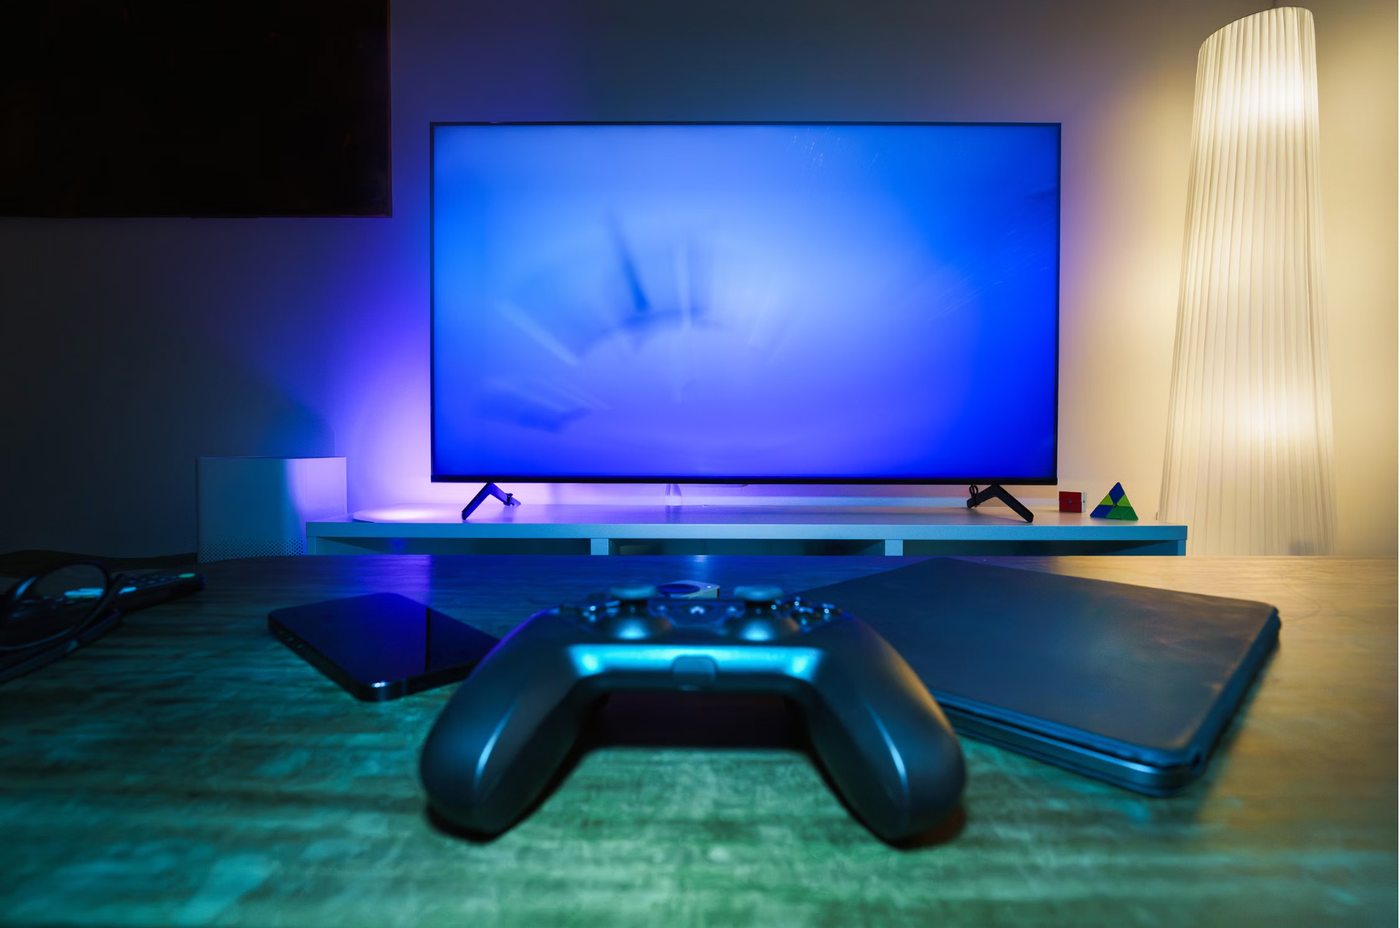
You spent good money on your TV, but the picture still looks slightly wrong. Faces have an orange tint, dark movie scenes turn into muddy shadows, and everything looks unnaturally sharp. The good news? You can fix most of these problems in about 20 minutes using your remote, a few test images, and the settings your TV already has.
Start With the Settings That Matter Most
1. Prepare Your Room and Find Your TV's Picture Settings
Before changing anything, set up your room the way you normally watch TV. If you usually watch movies with the lights dimmed, dim them now. If you mainly watch sports during the day, leave your curtains open and adjust the picture for that brighter environment.
Grab your remote and press the Settings or Menu button, then look for a section called Picture, Display, or Image. You'll find controls such as Brightness, Contrast, Color, Sharpness, and Picture Mode, although their names can vary between TVs. Take a photo of your current settings before making changes so you can restore them if something goes wrong.
Switch on a movie or TV episode you're familiar with, preferably one containing faces, bright outdoor scenes, and dark interiors. You'll use these scenes to judge whether each adjustment actually improves the picture.
2. Choose the Right Picture Mode Before Touching Anything Else
Your TV probably arrived with a picture mode designed to grab attention in a brightly lit electronics store. Modes labeled Vivid, Dynamic, or Standard often push colors, brightness, and sharpness harder than necessary. That might look impressive for five seconds, but it can make a two-hour movie exhausting to watch.
Open Picture Mode and select Filmmaker Mode if your TV offers it. Otherwise, try Movie or Cinema, which generally provide a more accurate starting point than Vivid. Don't worry if the image initially looks warmer or less punchy than you're used to.
Give your eyes a few minutes to adjust, then compare skin tones, clouds, and familiar objects. If faces look natural and white objects don't have a blue tint, you're already moving in the right direction.
Pro Tip: Calibrate your TV separately for SDR and HDR content if it allows you to save different picture settings. Start an ordinary HD program to adjust SDR, then play a genuine HDR movie to check HDR settings. Your TV may automatically switch picture profiles when HDR content starts, so don't assume changes made in one mode will carry over to the other.
Get Brightness, Contrast, and Color Under Control
3. Adjust Brightness Without Losing Shadow Details
Brightness is one of the most confusing TV settings because manufacturers don't all use the same terminology. On many TVs, the Brightness control changes black levels, while Backlight or OLED Pixel Brightness controls how much light the screen produces. Some newer TVs use Brightness to control screen light output instead, so check which behavior your menu describes.
Start by adjusting Backlight, OLED Pixel Brightness, or the equivalent screen-light control until the picture feels comfortable in your room. A bright living room usually needs more screen light than a dark bedroom.
Next, play a dark movie scene or use a black-level test pattern with bars just above black. Adjust the black-level control until the darkest details remain barely visible without making black areas look gray. If a character's dark jacket becomes one solid black shape, you've probably crushed important shadow detail.
4. Set Contrast So Bright Areas Keep Their Detail
Contrast determines how your TV handles the brightest parts of the image on many SDR picture modes. Set it too high and white shirts, snowy landscapes, or bright clouds can lose their texture. Set it too low and the entire picture may look flat.
Find a bright scene with white clouds or a pale shirt showing visible folds. Raise the Contrast setting gradually while watching those details, then lower it if separate bright areas start blending into a featureless white patch.
For a more reliable result, use a white-clipping test pattern that shows numbered bars near peak white. Adjust contrast so the intended near-white bars remain distinguishable, following the pattern's instructions. For HDR content, keep the TV's recommended HDR contrast setting unless you have a suitable HDR test pattern, because HDR tone mapping works differently.
5. Correct Color and Tint Without Making Everything Dull
A properly adjusted TV should make skin look believable, grass look green, and blue skies look natural. If everyone resembles a spray-tan enthusiast, your Color or Saturation setting may be too high.
Start with the default Color value in Movie or Filmmaker Mode, then use a familiar scene with several faces to check the result. Lower saturation slightly if skin looks excessively red or orange, but don't reduce it simply because the picture looks less flashy than Vivid mode.
Find the Color Temperature setting and choose Warm or Warm2, depending on your TV's options. These settings often get closer to the intended white balance than Cool, which can give whites a bluish appearance. Leave Tint or Hue near its default value unless a proper test pattern shows that it needs correction.
Remove the Processing That Makes Pictures Look Fake
6. Reduce Artificial Sharpness and Motion Smoothing
Your TV may be adding processing that makes images look less natural, even when the basic colors are correct. Excessive sharpness creates bright outlines around faces, buildings, and text, making everything appear artificially crisp.
Open Sharpness and lower it until those glowing edges disappear without making genuine detail look unnecessarily soft. On some TVs, the neutral sharpness setting is zero; on others, it's somewhere in the middle. Use a sharpness test pattern if you're unsure.
Next, find Motion Smoothing, Motion Interpolation, TruMotion, MotionFlow, or a similarly named feature. Turn it off when watching movies if movement looks unnaturally smooth, like a daytime soap opera. For sports, try a low setting if you prefer smoother motion, but watch for strange distortions around moving players and objects.
Also disable unnecessary edge enhancement and excessive noise reduction when watching clean HD or 4K content. Keep noise reduction available for older, grainy, or heavily compressed videos if it genuinely improves them.
7. Test Your Changes With Real Content and Save Your Settings
You've adjusted the major controls, but don't judge your results using a single beautiful demo clip. Test three different types of content: a dark movie scene, a bright outdoor scene, and a close-up of someone's face.
In dark scenes, check whether you can see details in clothing and backgrounds without turning black into gray. In bright scenes, look for clouds, reflections, and white objects that retain texture. During close-ups, check that skin looks believable and doesn't have exaggerated outlines.
If your TV has a Compare, Before/After, or Reset Picture option, use it to check whether your adjustments actually improved the image. Otherwise, compare your photos of the original settings with the values you've chosen.
Finally, save your picture profile if your TV offers that option, and check whether the changes apply only to the current HDMI input or app. Some TVs store different settings for each input, picture mode, and content type, so repeat the essential checks wherever you regularly watch.
The One Mistake That Can Ruin Your Results
Common Mistake to Avoid
Don't copy an entire list of picture settings from someone else's TV and assume you'll get the same results. Even two TVs with the same model number can have slightly different panels, and your room lighting changes how the picture looks. Professional calibration values for white balance and color management may actually make your screen less accurate if you apply them blindly. Use Movie or Filmmaker Mode as your starting point, adjust the basic controls with suitable test patterns, and leave advanced color calibration settings alone unless you have measurement equipment.
Enjoy the Picture You Actually Paid For
Now you're ready to watch your favorite movies, shows, and games with more natural colors, clearer shadows, and fewer distracting effects. Give your eyes a few days to get used to the new picture before changing anything again, because once you've stopped watching an overprocessed image, going back can feel strangely difficult.

Clara Rhodes
Author at SofaBreak — writing on guides and everyday curiosities.